Photo evidence for a clearer repair estimate
Use wide views and close-up photos to explain visible damage, record open questions and support an estimate review.
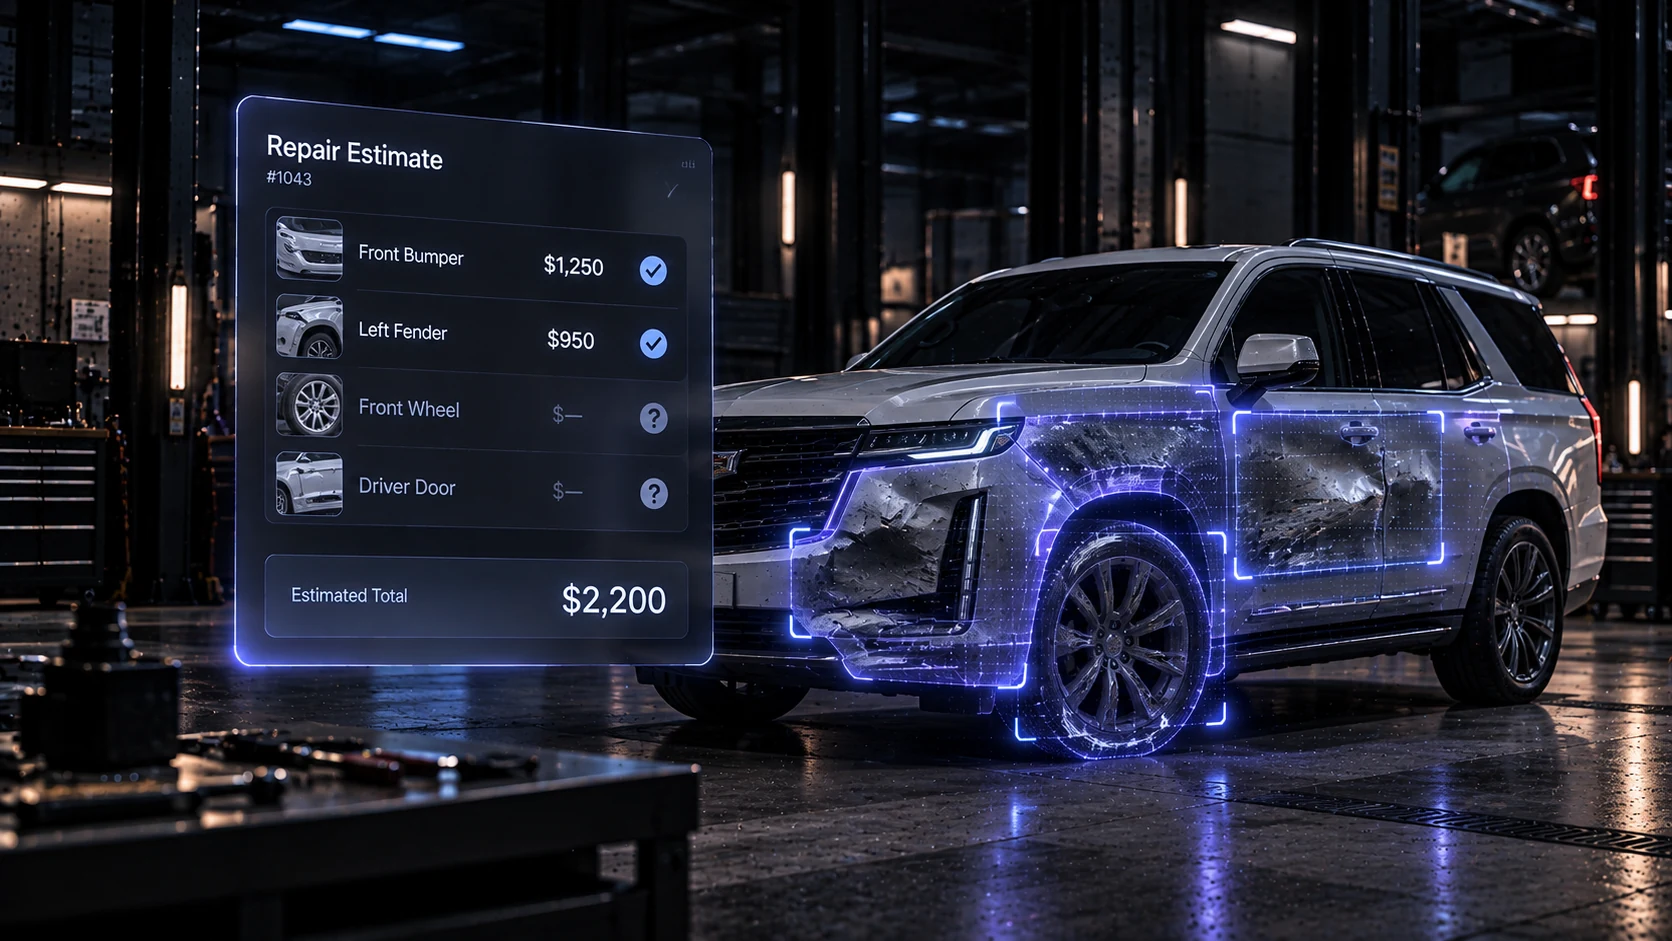
A useful estimate conversation starts with a useful record. A photo needs enough context for the customer, estimator and next team member to understand what it shows, where it belongs and what still needs a closer look.
The aim is a clear explanation of the evidence available at this stage of the repair. A few well-organized views can do more for that conversation than a folder of disconnected close-ups.
Show the area before the detail.
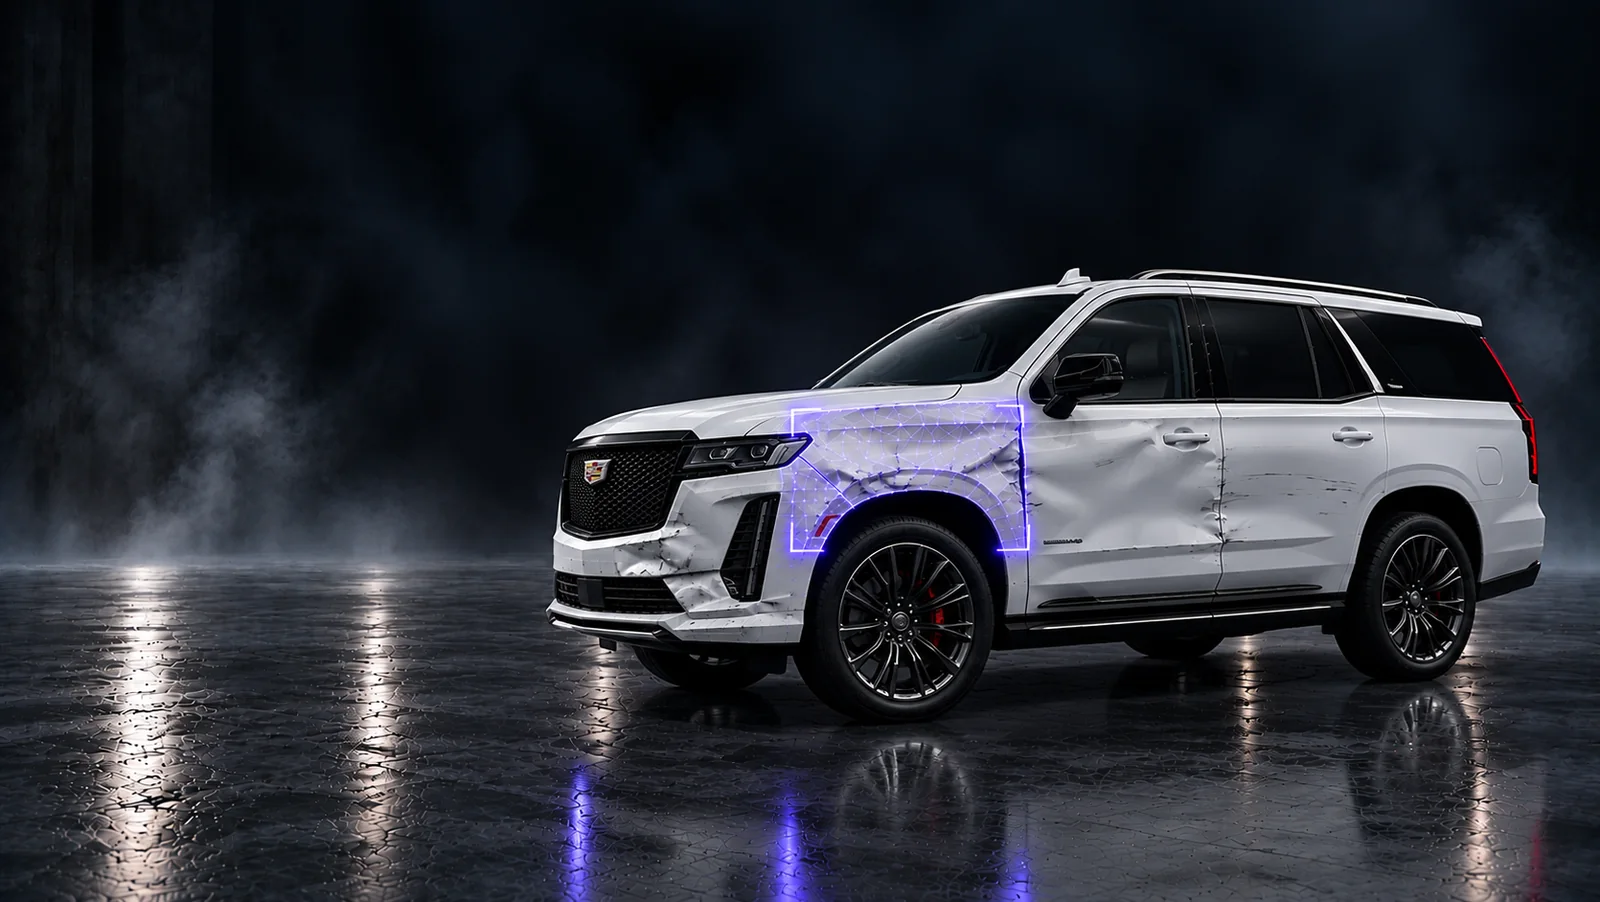
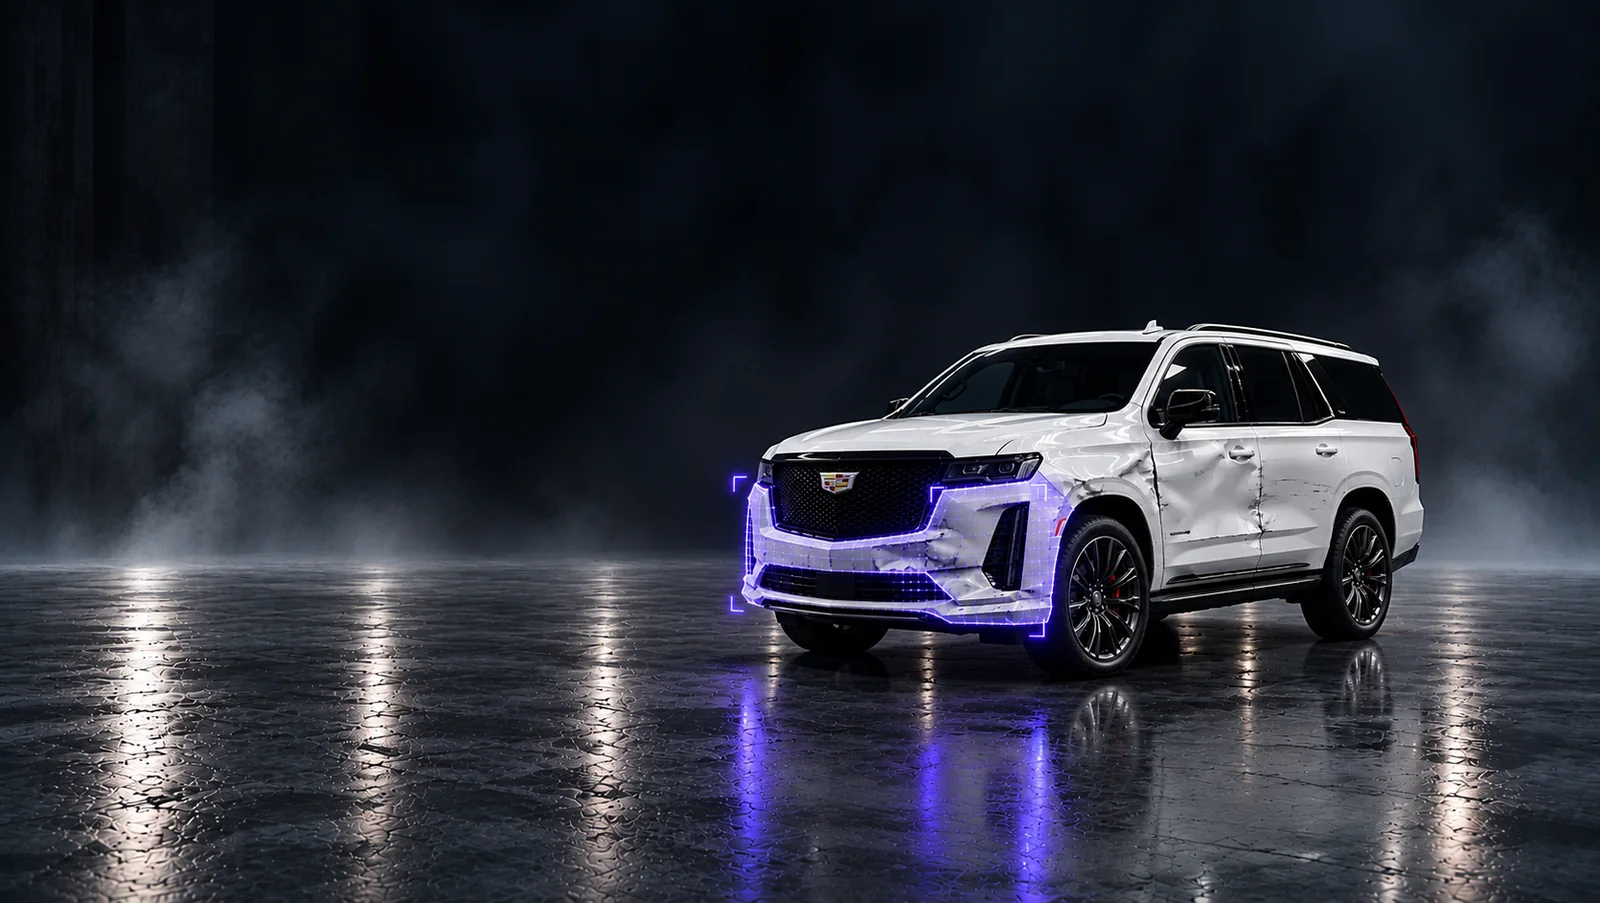
Start with a wider view that makes the affected part of the vehicle recognizable. Follow it with a closer image of the mark, dent or other visible condition being discussed. Keep the two views together so someone reviewing the file can move from the overall area to the detail without guessing.
For example, a close-up of a scuffed bumper may show the surface clearly but leave the reviewer unsure which side of the vehicle it belongs to. The wider view answers that question. If the detail is unclear, take another photo from a useful angle instead of treating the first image as a complete explanation.
Check that the lighting and framing make the condition understandable. A reflection or an image cropped too tightly can make the reviewer uncertain about what is being shown. Add a clearer view when the first one leaves that question open.
Better evidence supports
a clearer estimate conversation.
Keep the photo with the right repair.
A clear image is less useful when it is separated from the customer and repair it belongs to. Keep the image set with the relevant job and distinguish the photos supplied at intake from images added during the shop’s review. The next team member should be able to understand the sequence without searching through a message history.
A short, factual note helps: identify the area shown and why the photo was added. Avoid relying on a filename alone to explain the finding. The record should remain understandable to someone who was not standing beside the vehicle when the image was taken.
Keep requests for missing information with the record as well. If the team still needs a view of the other side of the affected area, make that request explicit instead of assuming the existing set is complete.

Separate what is visible from what needs inspection.
Photos document what can be seen from the supplied views. They do not establish every repair requirement or show everything behind a panel. Keep the visible observation separate from questions that still require an in-person review. This makes the starting estimate easier to discuss without presenting an early picture as the final scope of work.
For the bumper example, the surface condition may be visible while another concern still needs the team’s attention at the vehicle. Record that distinction in plain language. An open question is more useful when it is named than when the customer only learns about it after the proposed work changes.
Use captions that describe the observation before drawing a conclusion about the work. “Scuff visible on the left rear bumper” describes the image; a repair decision needs the estimator’s review of the relevant information.
Explain the finding that changed the discussion.
When the shop finds something new, connect the revised explanation to the new evidence. Add the relevant view to the repair record and describe what it shows. Keep enough of the earlier context for the customer to understand why the conversation has moved forward.
A useful update follows a simple sequence: this was the information available at intake, this is what the later review found, and this is the work now being discussed. A revised total on its own cannot tell that story. The evidence and explanation give the customer something specific to review and ask questions about.
An update can be brief and still be specific. Point to the added photo, describe the new finding and explain the next review step. Leave room for the customer to ask about the evidence before moving on to the amount.
Leave a record another person can use.
Before handing the job to another team member, review the file as if you were seeing it for the first time. Can you identify the vehicle area? Can you find the detail being discussed? Is the remaining question clear? Those checks make the photo set useful beyond the original conversation.
Fusion AI connects customer photo intake with visible damage findings, while Hub keeps the repair workflow connected. The practical standard for the team stays the same: show the evidence, explain its limits and keep it with the repair. For the wider detection workflow or the insurance supplement process, use the linked guides below.
A useful handoff answers three questions: which area is being discussed, which image supports the observation, and what needs to happen next. Make those answers easy to find so another person can continue the conversation without reconstructing it.
Review the evidence
A clearer estimate discussion
- Pair context with detail.Keep an identifying wide view beside the close-up that supports the discussion.
- Name the open question.Distinguish a visible observation from work that still needs an in-person review.
- Explain the next handoff.Keep the finding, supporting photo and relevant update with the same repair record.

Continue the workflow
Keep the repair context together in Hub.
Read the full insurance supplements FAQ.
Explore the guided repair review product update.
Related product workflows
Keep estimate evidence searchable and share it with the right people.
 Insights
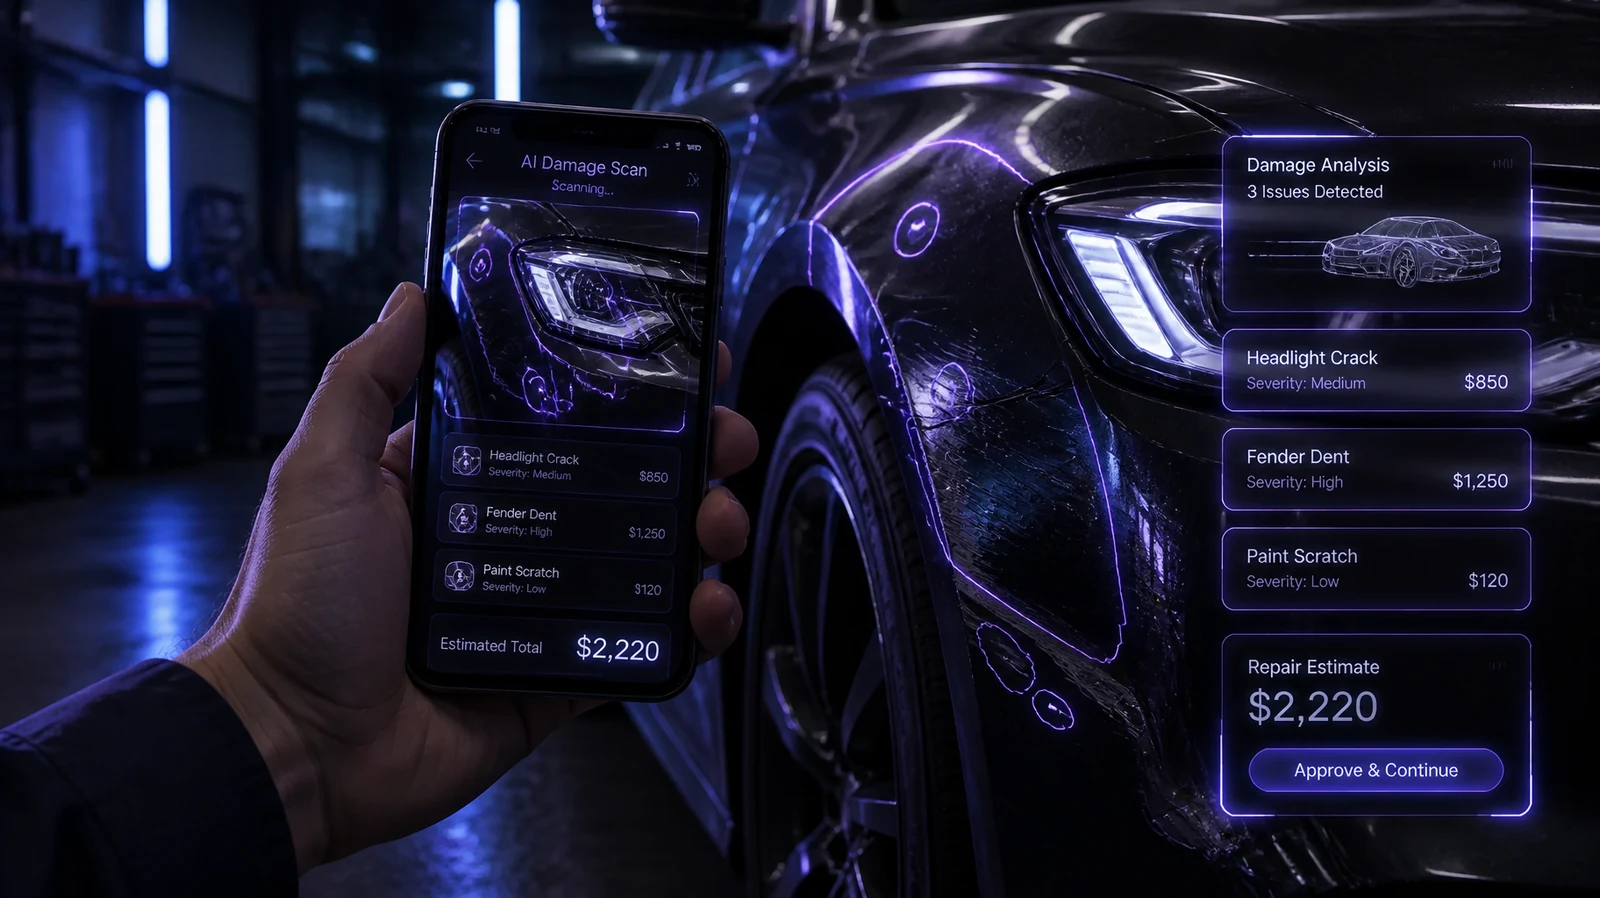
AI for Auto Repair Shops: A Beginner's Guide to Photo-Based Damage Detection
How photo-based AI damage detection works in a repair shop, where it fits in the day, and what to check before you trust one with your estimates.
 Insights
Multi-Location Auto Repair Software: One Hub for Every Shop
Running one shop is management. Running five is a data problem. How multi-location shops get one view of leads, damage, parts and payments.